Showing posts with label Bed Room. Show all posts

Studio 5 Window Display Challenge

Our friends at Studio 5 gave us another FUN decorating challenge! So what's the challenge? Decorate using inspiration from department store window displays! This is the window we picked!

To watch our Studio 5 segment just click HERE !


So we gathered all our string and went to town on these projects!

Instead of changing an entire room, which costs money and even more time, we decided to make some accent pieces to incorporate this fun look into any space!

So for this project you will need
* A Canvas
*String or Yarn
*Pins
*Mod Podge
*Paint or Foam Brush


First of all there are NO RULES to how you can make these! Just go crazy! Here we started by measuring from one corner and pinning as we went to make a partial circle.


Then just brush on your Mod Podge where you want your string to stick (Mod Podge dries clear so don't be afraid to to just slap that stuff on!)


Then just lay your string down and paint another layer of Mod Podge on top of it!


Here's another cutie that you can make without using the pins!


And if you don't have string grab some doilies and fabric!


Thank You Studio 5 for this fun challenge! 


Decor to Die For!!!


Allow me to introduce you to One Kings Lane!


The Designers at One Kings Lane NEVER cease to amaze me!!! Their decor is DEFINITELY one of a kind! If you aren't on their email list then RUN KIDS cause wether you are looking for fantastic decor or amazing inspiration these guys have GOT IT!!!


Love


Need more closet space? Drink a coke...yep! :)

So who couldn't use more closet space? Maybe Kim Kardashian...no I bet even she needs more!

So here is a SIMPLE solution:

Drink a Coke


Your welcome...now keep the tabs from your cokes!


So all you need to do to double your closet space is simply place one hole of the tab on one hanger, then hook your second hanger on the other hoop!


And depending on how high your hanging rod is you could do this a third or even fourth time! But then you'd have to buy more clothes to fill up all that space you just made...dang.

;)


DIY Herringbone Painted Rug!

Hey Friends! I am SO EXCITED about this rug I could just pee a little (side effects of getting older)! ANYONE can make this rug, and really you could do any pattern you choose! Here is the How To for the Herringbone pattern!

 
So I have been looking for a cute rug for under my table FOREVER!!! And every one that I would find would end up being $500 to $1000 BUCKS!!! That's just ridiculous!!! There are PLENTY of other things I would rather spend that kind of money on (like a vacation)! So I decided to make it myself!
 
I found this 5 by 8 foot Beauty at Walmart for $29 bucks! By itself it wasn't very cute, but it was the perfect canvas!


So what I did is I measured the width and divided it by 2 (get out your calculators) to find the middle, then I marked it on the top and bottom with magic marker. Then I borrowed my hot hubbys chalk line (you can find these at any hardware store and they are GREAT for making straight lines!) I pinned the chalk line to my wood floor (its old) at the top marking point and then pulled the string tight to the bottom marker, once your line is tight pull up on the string with your other hand and let go! This will give you your first straight line! Its sound complicated but its really not, don't let me scare you!
 
Then I did the same thing measuring between the middle marker and the side of the rug, so I ended up with 3 blue lines running down the rug...are you still with me?...ok
 
Once you have your vertical lines you can start measuring the other way except this time don't use your chalk line (or you will be cursing me trying to wipe it off)! Instead make your marks starting in the middle with a magic marker, you basically want to end up with squares you can trace on.
 
 
Once you have finished marking your rug you will want to find something straight that you can trace with (I just used a piece of scrap wood) then start tracing a chevron pattern with magic marker.
Ok, the hard part is done!!!!! Now just paint!!!


And Paint...and paint...The time goes by a lot faster if you have a Coke and watch a good show on Hulu (I watched Community, its my guilty nap time pleasure!)
 
 
I just used black craft paint, six bottles to be exact!
 
 
And so with a little elbow grease, some paint and an ugly rug you can make something FABULOUS!!!
 
p.s. don't judge my unfinished chairs, that will be another project!
 
 
Tris


Spruce up that Bed Room with these FAST FUN Tricks!

These long winter months can give you the decorating blues and blahs! After the CRAZINESS of the holidays its time to treat yourself to a fresh new space! So where is a good place to start? ChiKKaBoom has your answer! Its time to redo that MASTER BEDROOM! Here are a few tips and how to’s to get you started!
1 - SAVE money by using a NEUTRAL BEDSPREAD:
  • Bedding can get VERY expensive, so try to stick with NEUTRAL COLORS (Grey-cream-brown-black).
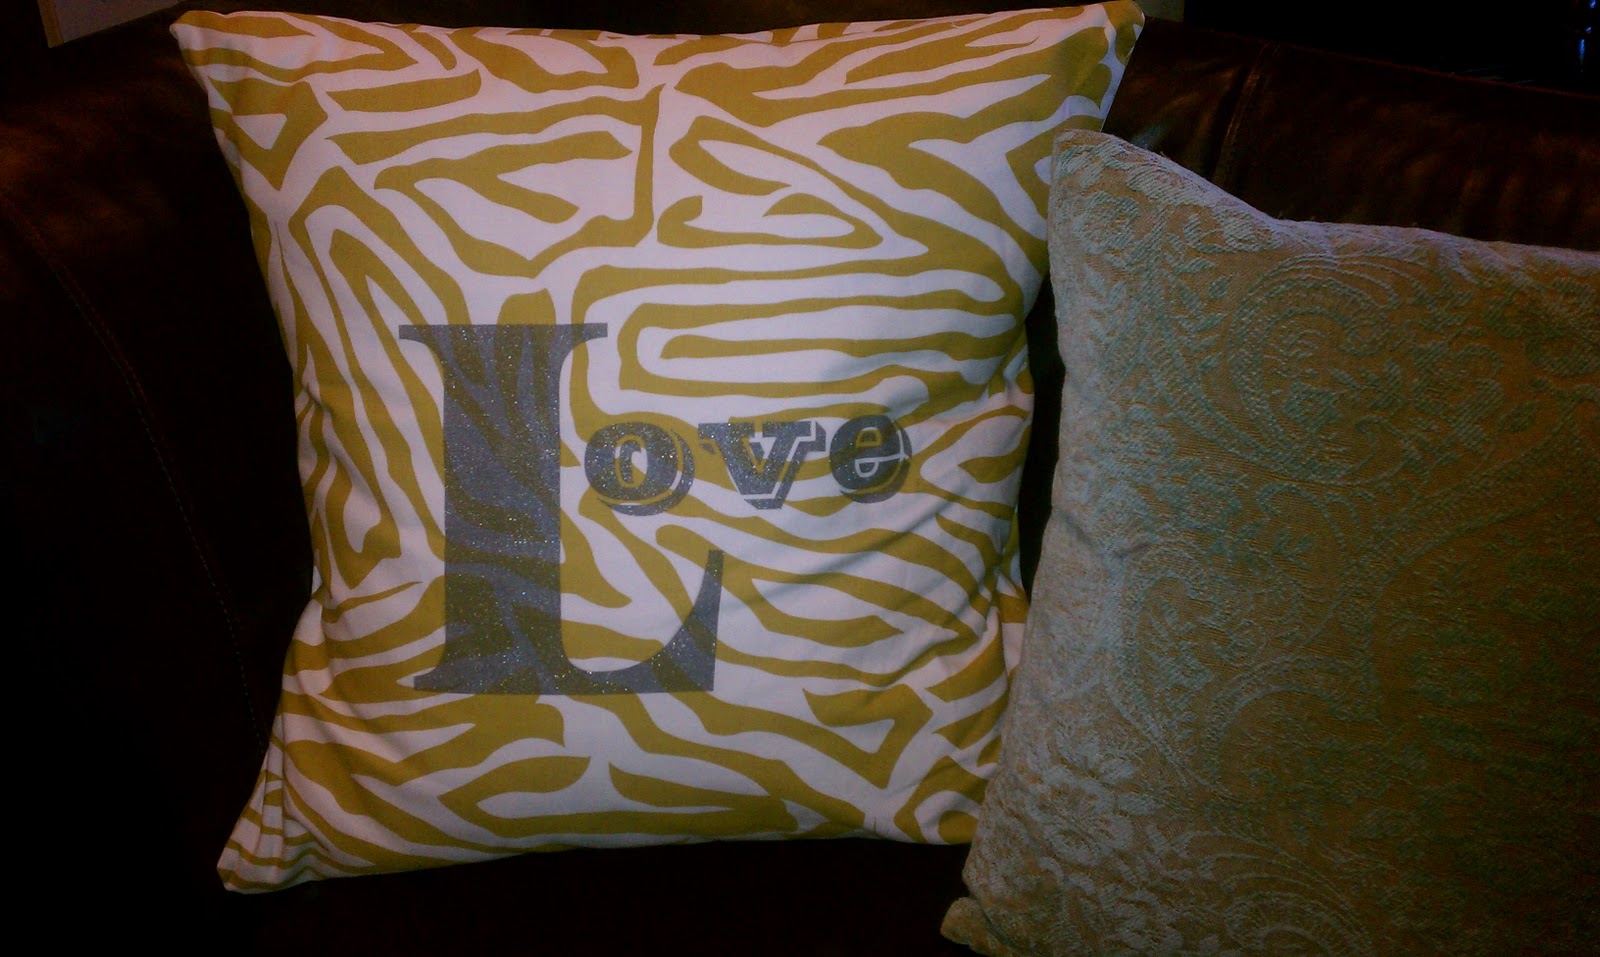
Add punches of color and texture with PILLOWS, BLANKETS, or even a strip of fabric!
I sleep with a TON of pillows! So when I make my bed I’m always trying to find places to stuff them out of sight, so I came up with a solution! I call it The PILLOW RUNNER!
2 – SIDE TABLES:
  • PAINT is the quickest, cheapest way to change your side tables!
  • A BRIGHT VIBRANT accent color can change the entire feel of your room!
  3 – DRESSERS:
  • Of course painting your dresser can make a big difference too, but if you still like the existing color try adding a glaze to change it up a bit!
  • DON’T THROW OUT YOUR OLD HARDWARE!!! You can change this too! We just took our old handles and fastened them to a cardboard box, spray painted them and VOILA! It gives it a pumped up Shabby Chic look!
4 – ACCESSORIES:
  • From Modern to Classic styles, accessories like BOOKS and LAMPS show off your personal style!
Tissue paper gave new life to these LOVELY LAMPS!
Testing...one, two, three....testing, testing... if you're reading this we are back in business. After much technical tribulation, moving, and poppin' out babies we're back to blogging. We've included a picture of one of our latest projects to give you a taste of what's to come...
We are so sorry that we haven't been able to post our contest winner. So, without further adieu....the winner is Karyn Hall! Email us your mailing information at fiveandco@live.com to receive a vinyl Christmas packet!! Keep checking in for more stuff to come!!!      

OH MAMA!!!!

So as you probably ALL know, my mother is a GENIUS!!!! She always comes up with the best ideas!!! This is her latest!


As she was making some slip covers for her family room pillows she thought it might be cute to have some kind of image on the front. So What does she do? ... She Spray paints them! ( Mom I LOVE YOU!!!) All she did was take some vinyl that has been cut to whatever image you could want, she picked the vinyl so that it made a stencil, then she stuck her stencil onto the fabric and spray painted it! As I said GENIUS!!!!


After the paint dries you just peel off your sticker and you have a FREAKING FABULOUS pillow!


LOVE IT!!!!!

                                 Tris